The carved turn
Let's elaborate on the shape of the carved turn and play with it.
A soft beginner ski is so soft it will never really carve an arc along the entire edge, but it would leave tracks from under the bindings. What happens is that most of the pressure is put on the middle of the ski but, the ski being soft, the tip and tail do not get enough pressure to actually dig into the snow and contribute to the "carving" and will just "smear" the tracks - see the tracks below.
This type of ski is forgiving for beginners and will help you at low speeds, as it bends easily and doesn't grab the snow too aggressively.
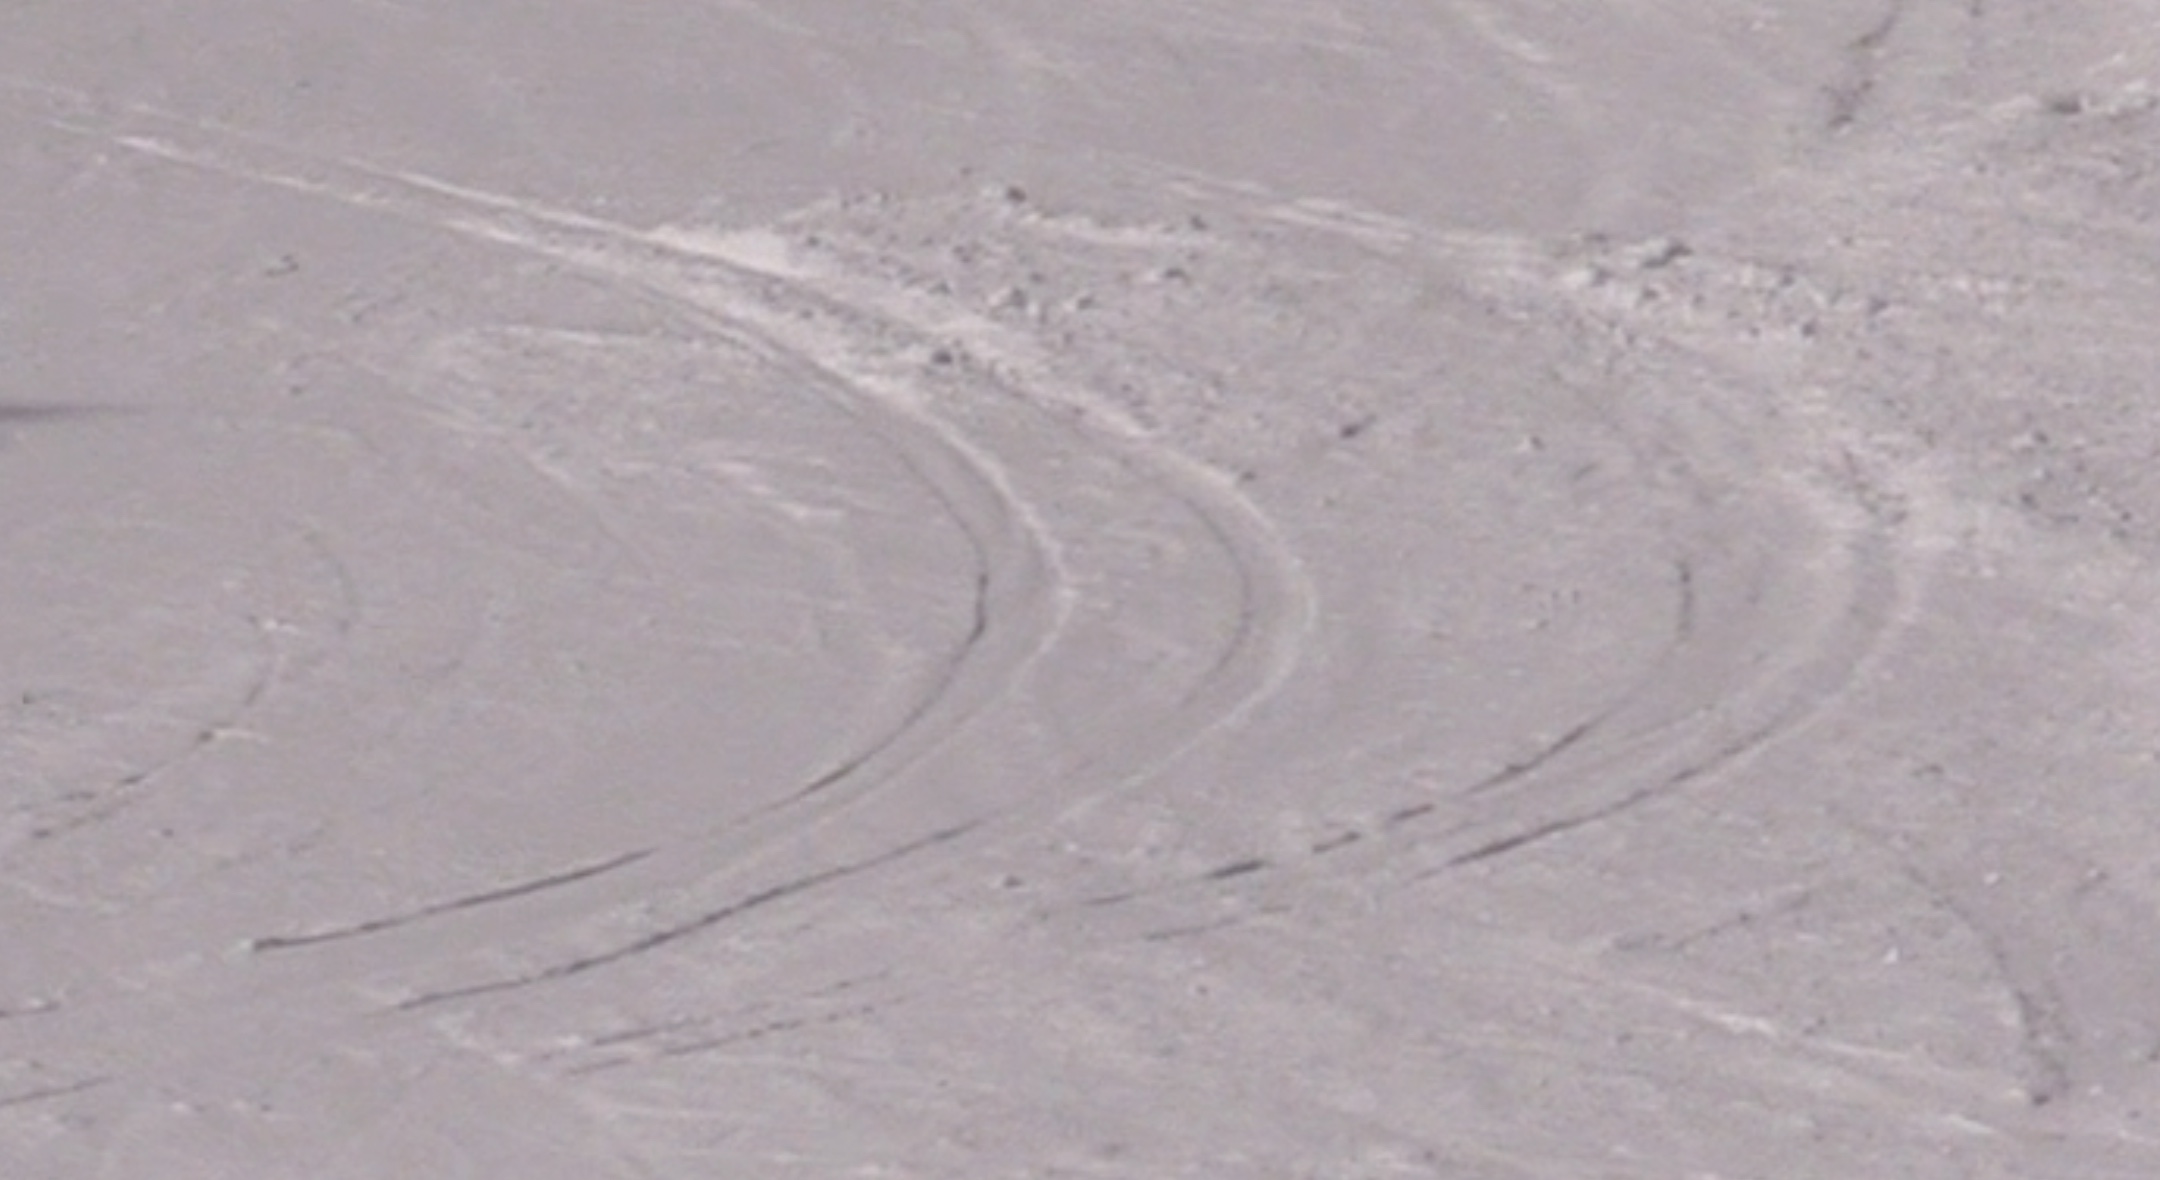
So you can see you have more useful edge length engaged with the stiffer ski - we'll look into that as you move to the blue and then black levels. Remember, our preference is to use an intermediate ski, which is just stiff enough but not soo stiff.
So, just remember that when you look at your ski tracks, as you start carving, you may see the pencil-thin tracks coming from under the binding rather than from the tail of the ski - especially on hard snow.
Tipping and un-tipping
You are fully aware now when you're ending the turn by un-tipping the skis the other way, when the skis are flat and when you are tipping the skis on edge to engage the new turn. Let's bring that movement sequence into focus.
Let's just repeat this on a carpet or better yet, at the top of the run.
- As you're standing on the skis flat, on a flat piece at the top of the run,
- Tip the skis to the left and as you do that, relax and flex the left foot to transfer weight on the right foot
- As you flex the left foot and transfer weight, crunch your shoulders to the right, to stay in balance over the right leg and that will result in increasing the edge angle of the right foot.
- Start going the other way: start relaxing and flexing the right leg to transfer weight on the left leg, which will have to extend, to take the weight.
- As you're flexing the right leg, start tipping it as well, to the right.
- Focus on a continuous smooth movement of flexing-tipping-balancing, from "apex" to "apex".
Now let's get on with it:
As you go down a green run, start turning and carving. Here is the movement sequence you are looking for:
- Start gliding slowly on a flat green run and, as you're going on flat skis, standing on both legs,
- Start relaxing and flexing the left foot to transfer weight on the right foot and as you do that, tip the left foot to the left to turn left
- As you relax and flex the left foot and transferring weight, crunch your shoulders to the right, Counterbalancing to stay in balance over the right leg and allow increased edge angles.
- As you want to end the turn, start going the other way: start relaxing and flexing the right leg to transfer weight on the left leg, which is extending, to take over the weight.
- As you're flexing the right leg, start un-tipping it and then continue tipping it, to the right.
- As you reach skis flat, weight is equal on both feet
- Don't stop or pause at skis flat: focus on a continuous smooth movement of flexing-tipping-balancing, from "apex" to "apex".
Note that as you start to end the turn and flex the outside leg that you're also tipping it - we sometimes call this "untipping".
Feeling the edges
You'll need to make sure you feel the edges and the specific feeling of carving an edge, so let's do some diagonals.
Find a relatively wide and empty green run - in this drill, you'll have to cross the slope so make sure it's rather empty and that you look up to avoid collisions!
Stop at one end of the run, with the skis sideways, pointed towards the far end of the slope. Then simply point the tips down a little, lift the inside heel (the uphill heel this time) and let the skis glide to the other end of the slope.
Focus on gliding on the edge versus skidding the skis. You should leave a nice pencil-thin track (on consistent snow).
Notice the "crisp" feeling of balancing on a stable edge as opposed to the mushy feeling of skidding on a flat base.
At the end, just turn the skis the other way, stop and repeat. Do this 5-6 times for a couple of runs.
Carving
Ok, let's ramp this up to full carving. The idea of carving is to balance on that edge throughout the entire turn and, to simplify that, we'll do very wide turns across the slope.
Find a relatively wide and empty green run - in this drill, you'll have to cross the slope so make sure it's rather empty and that you look up to avoid collisions!
Start at one end of the run, with the skis sideways, pointed towards the far end of the slope (left to right let's say). Then simply point the tips down a little, lift the inside heel (the uphill heel this time) and let the skis glide to the other end of the slope.
Focus on gliding on the edge versus skidding the skis. You should leave a nice pencil-thin track (on consistent snow).
When you approach the right end, start a new turn to the left: lift the new inside heel (hint: you've been standing on it, the left heel) to transfer weight to the new outside ski (the right) and ride this edge until it turns across the slope again.
Repeat this 5-10 times per run, for a half day !!!
Here's another view on "making the skis grip", this time more upper-body focused. As we now know, Counterbalancing allows more tipping angles and thus grip and also places more weight on the outside ski, leading again to better grip:
.todo is this video appropriate here?